04 September 2012

Lemony Snickets

Dear Lissy,
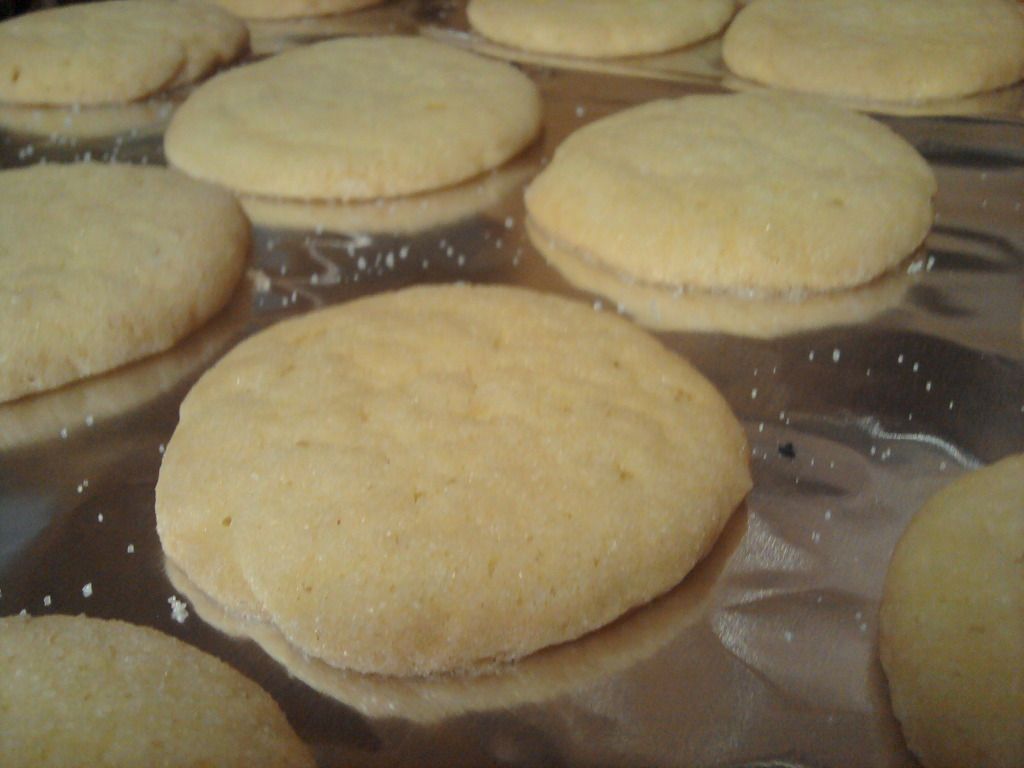
Some days you need a giant, chewy, knock-your-socks-off cookie studded with goodies.  Other days you just want to fill the cookie jar to the brim without spending a third of your grocery budget.  For those days, Lemony Snickets fit the bill.  Crisp or soft and buttery-sweet with just a hint of lemon, the full recipe fills our gallon cookie jar and the fish stick decoy box in the freezer.  (What?  You never figured that out?  Really?  Well, now you know.)
Soft Lemony Snickets, fresh out of the oven.  I'd bake them to a deeper golden brown for crispy cookies.

02 September 2012

Tutorial: Pitching A Tent

Dear Lissy,
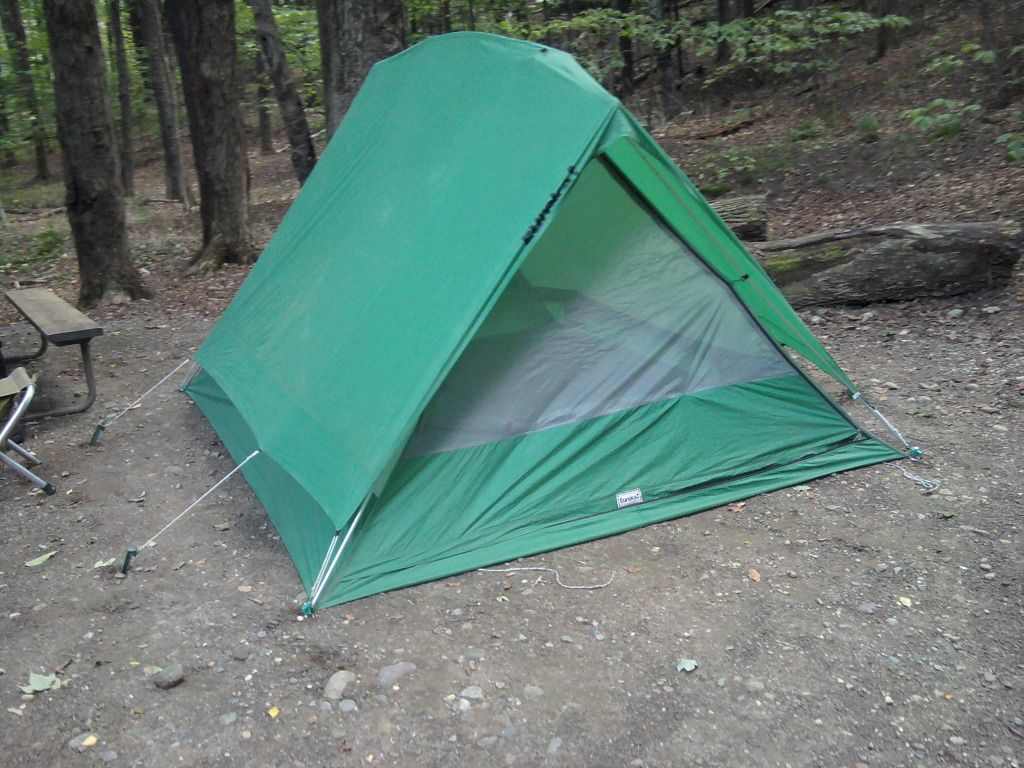
Shelter is your first priority in any outdoor situation.  Knowing how to properly pitch a tent means the difference between waking up dry and snug or in 4 inches of standing water.  Start well by pitching your tent at home first. If you have trouble telling which pole is which, mark them with electrical tape or nail polish.   Put a couple of extra nails or stakes into your kit, and make sure you have a hammer to pound them in and pry them out at camp.

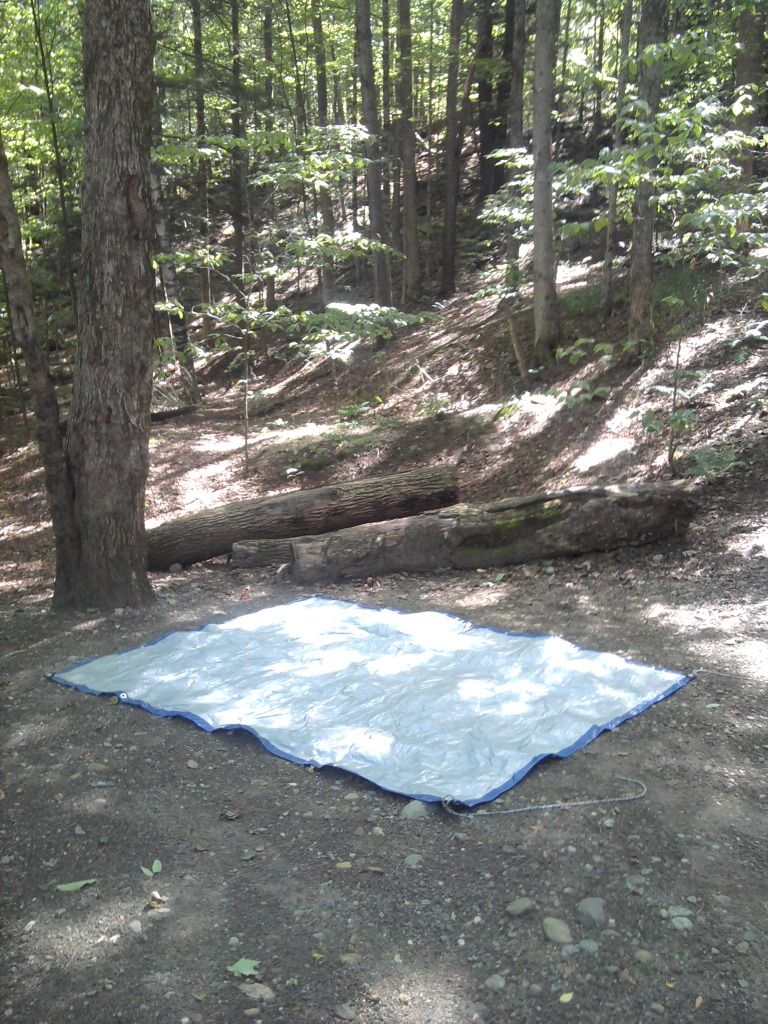
Pick a relatively flat spot, and remove all branches and large rocks. Lay down a ground sheet or tarp that is  a couple of inches SMALLER than your tent.  If the ground sheet sticks out past the tent, you'll get wet if it rains!  One of the most common errors we saw in scouts was kids who put the ground cloth inside.

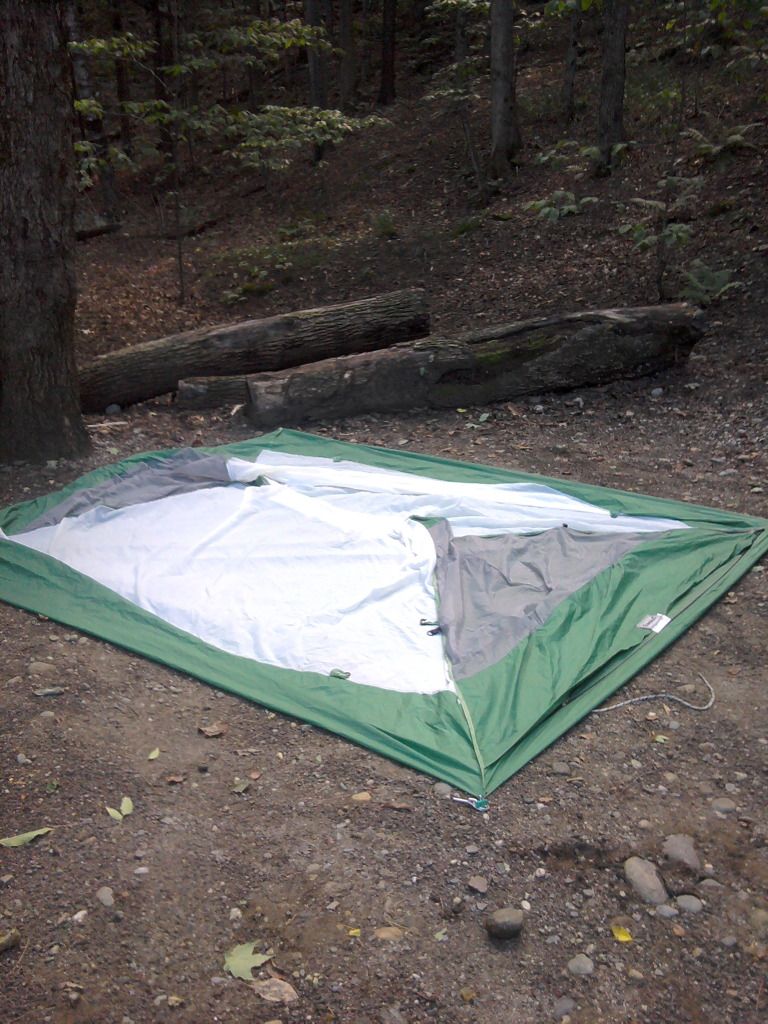
Stake out the tent so the floor is taut and the ground sheet is completely covered.
Double check that the door is where you want it before you pound in the stakes.
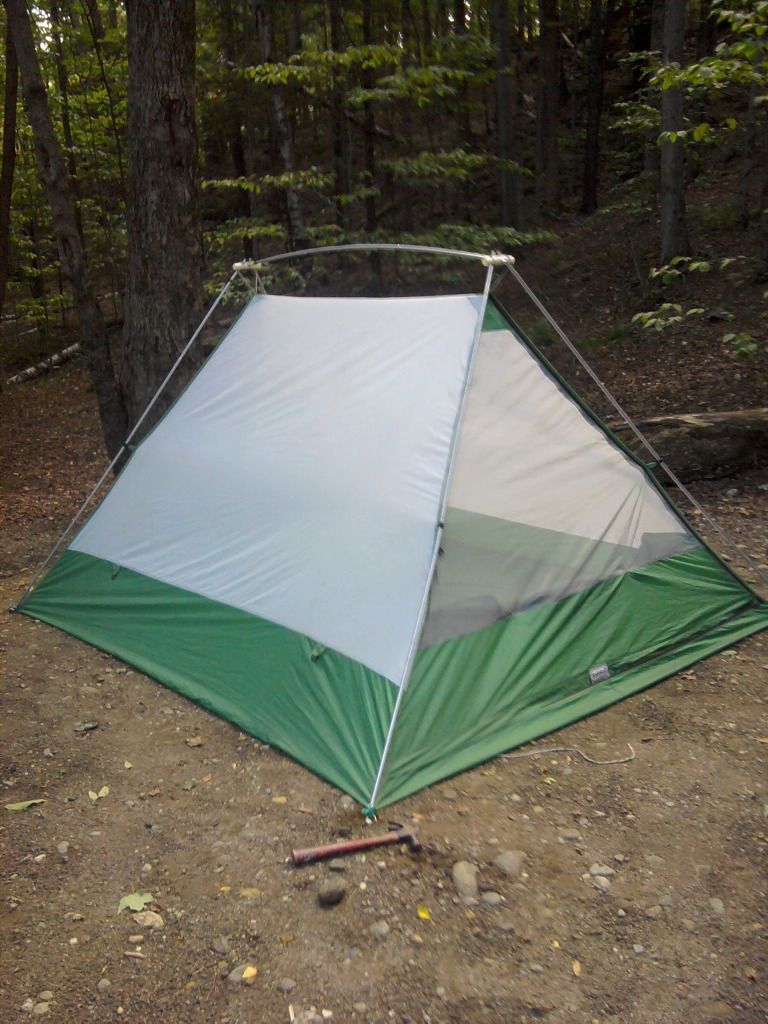
Erect your tent according to the manufacturer's directions.  Now is the time to make sure the gear loft or line is secure and pop an extra flashlight in the cargo pocket nearest the door.
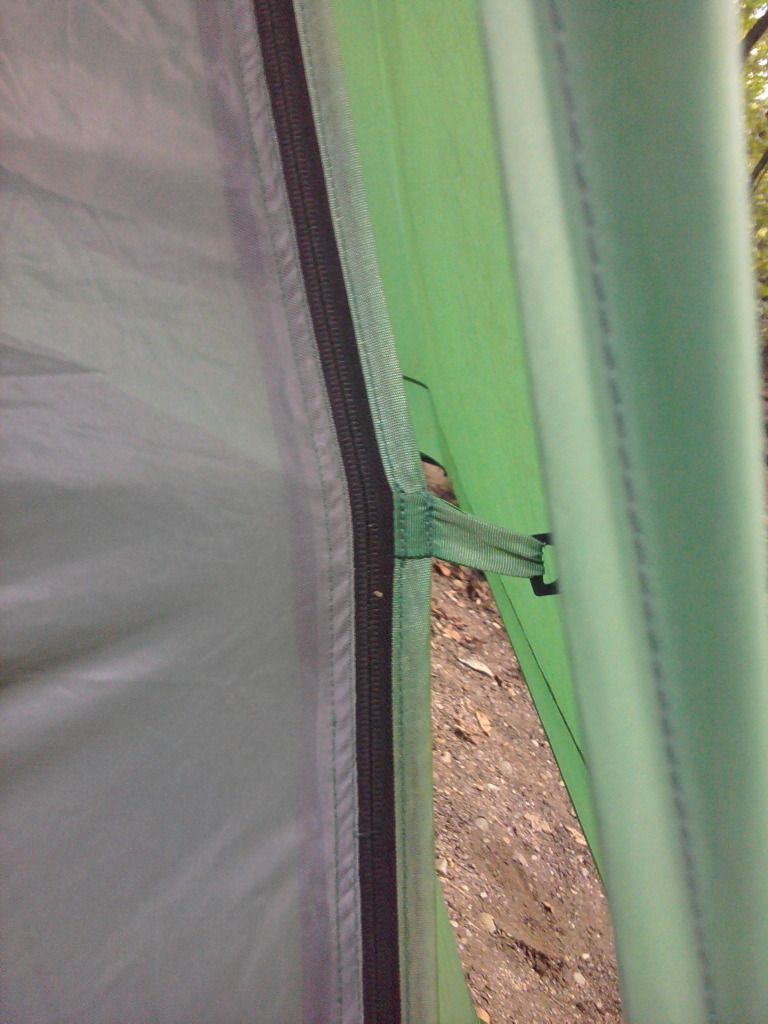
Secure the rain fly. Stake the sides out as far as possible. The rain fly shouldn't touch your tent except at the clips.  If the fabric of the rain fly and fabric of the tent touch, you're going to get wet!  A completely waterproof piece of plastic tarp draped over the tent may keep rain out, but it also traps moisture in.  Use the same piece of tarp and cordage to make a rain fly over the tent instead.
A close-up showing the gap between the rainfly and the tent.
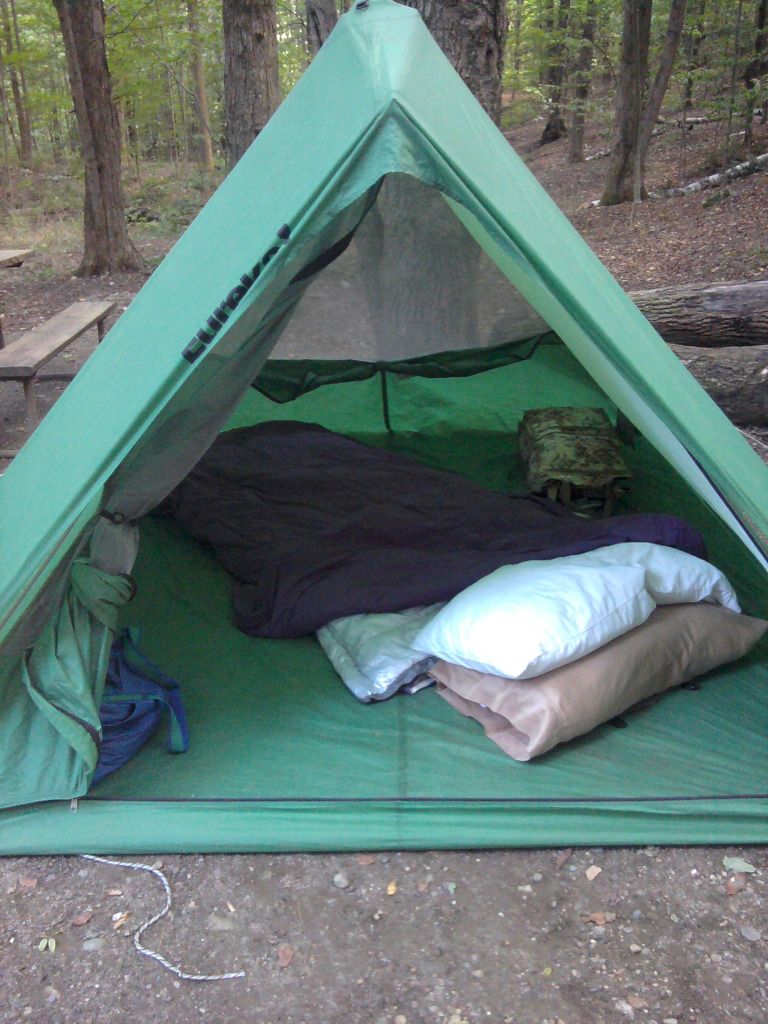
Align your sleeping bag so your head is facing uphill if the site isn't perfectly level.  I had the luxury of a 4 man tent all to myself, so I slept catty-cornered.  I would have put clothes or towels under one side of my sleeping pad to level it if we had 3 or 4 people in the tent.

For a bed as comfortable as your own at home, layer a foam/air combo mat; a camp style sleeping bag, zipped so you sleep on both layers; and then open out a traditional sleeping bag so only the foot portion is still zipped.  Place a comforter over the top.  Two pillows, one firm, and then your normal pillow are much more comfortable than just one pillow while camping.  If you are camping with the fam, you get one sleeping pad, one bag, and one pillow.  Groan.
The rain fly and door/window screens can be used to adjust the temperature.  For cool or cold nights, zip it up tight.  For "normal" weather (55 - 65) leave a vent open on both the door and window.  If the temperature is much over 65, you may want to remove the rain fly if it's a dry night, or the tent will get too warm for sleeping.  In the morning, unzip all the windows to air the tent.

Tentiquette 101

  • No food, beverages, or flames in the tent.  Period.  If you have to have plain water, store it vertically in a cargo pocket where it can't accidentally spill and soak a sleeping bag.  That little pack of m&m's you snuck in will draw skunks, raccoon, porcupines, squirrels, and possibly even bears.
  • Enter the tent bum first, sit just inside the door and remove your shoes while your feet are still outside the tent.
  • Don't enter another person's tent or sit or sleep on someone else's bag/pillow unless you've asked.
  • Keep the door zipped to keep mosquitoes out. 
  • Don't run around the tents.  If you trip on a guy line, you can hurt yourself and damage the tent beyond repair.
  • A small whisk broom/pan should be included in the gear.  Make one person responsible for sweeping out the tent each day.  The little sticks and pebbles that find their way in quickly damage the floor.
Taking Down the Tent
Reverse the order, making sure to empty the cargo pockets and gear loft.  Don't leave any stakes behind!

***As soon as you get home, hang your tent on a clothesline or in a dry attic to completely dry out before storage.***

Love you in"tents"ly,
Momma

01 September 2012

Tutorial: Cookin' On Coals

Dear Lissy,
I've just returned from my annual birthday solo camping trip, and I took about a bazillion pictures of how I accomplish various camp tasks to share with you.  My first (and best) technique is one I learned in Cub Scouts:  cooking over coals in foil "schooners".
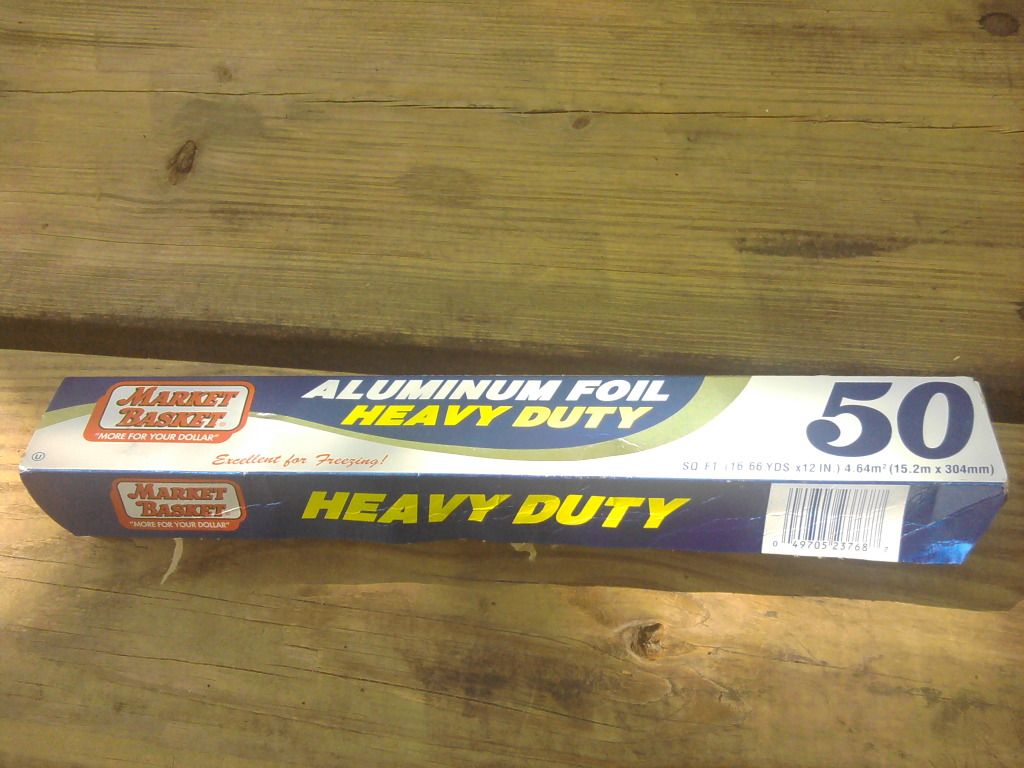
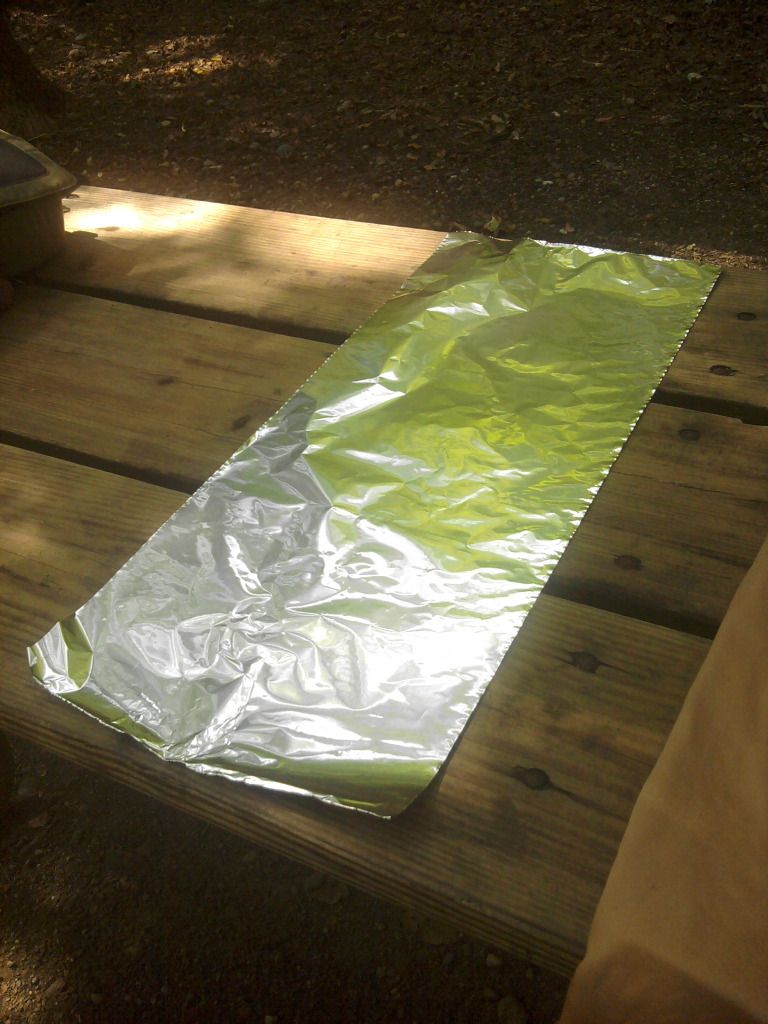
Heavy Duty Foil. . .

Tear off a sheet about 3' long.

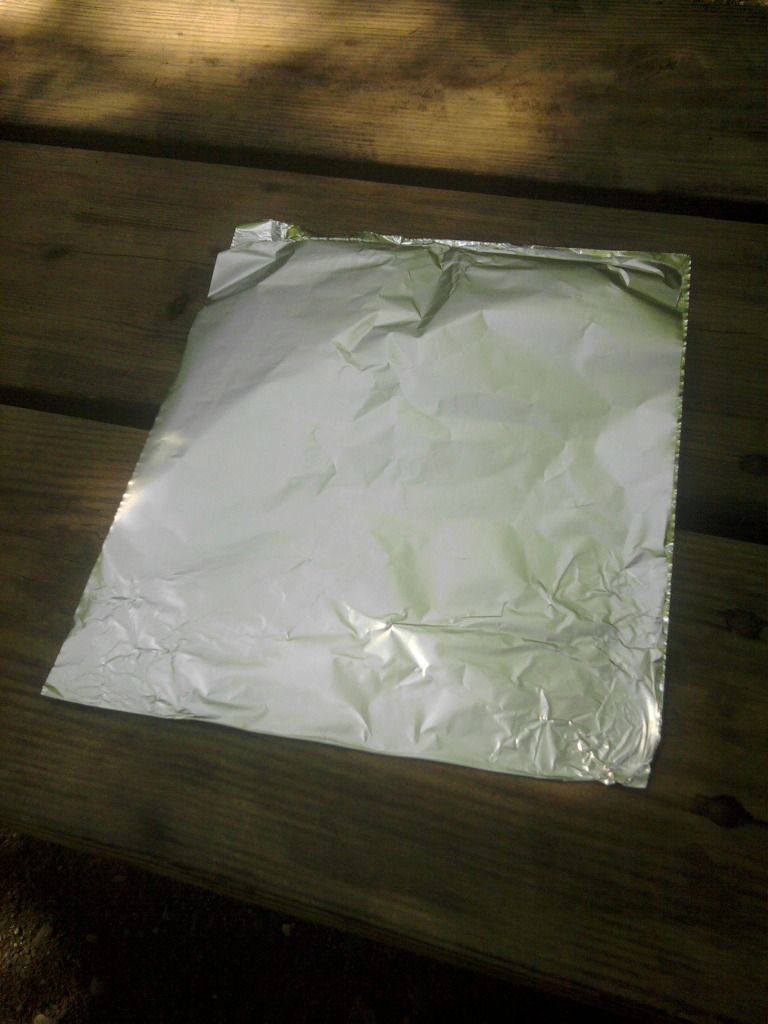
Fold it in half .
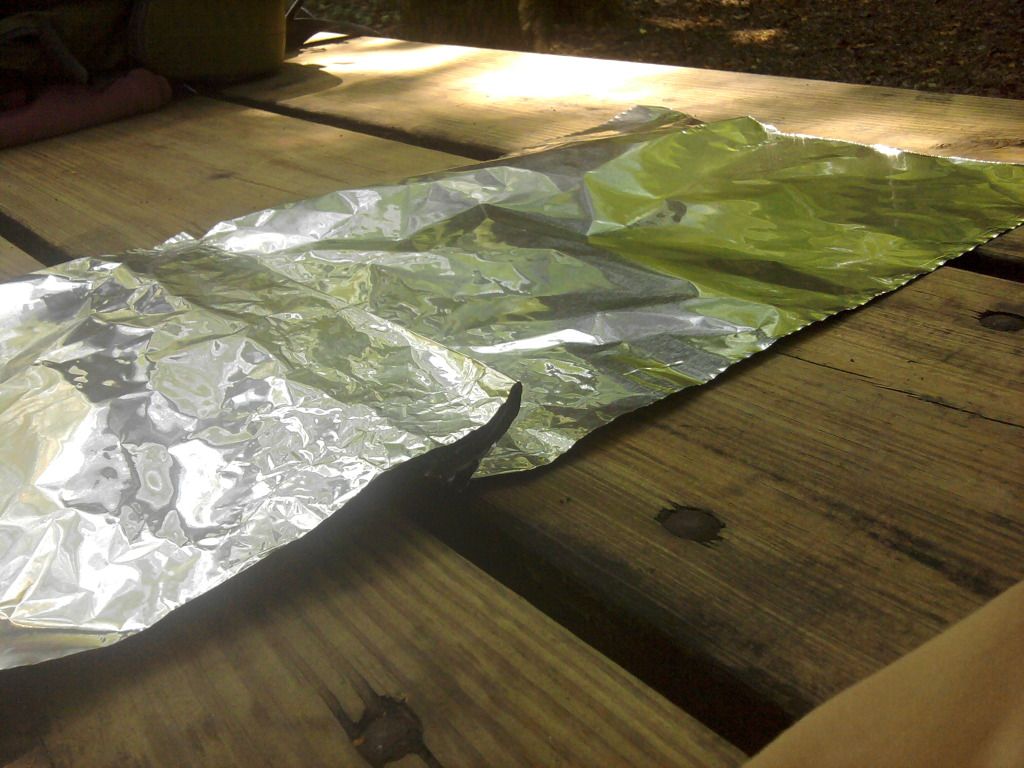
Fold each half back on itself leaving a 1" pleat. 
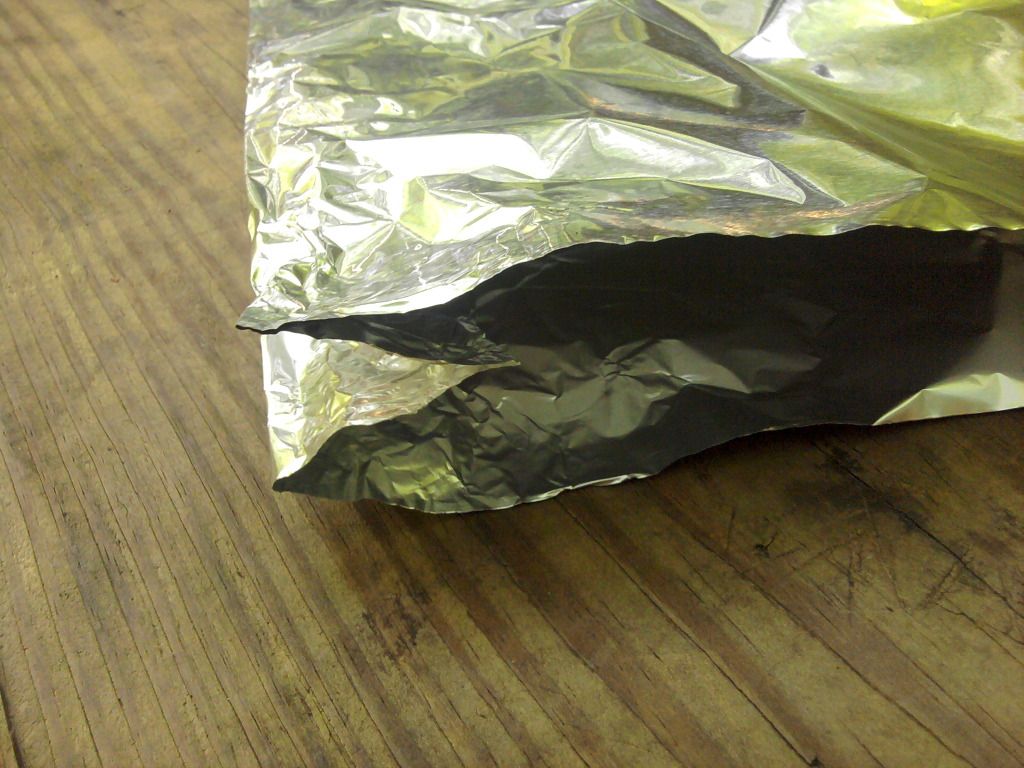
You should have a "w" shaped bottom when both sides are folded. 
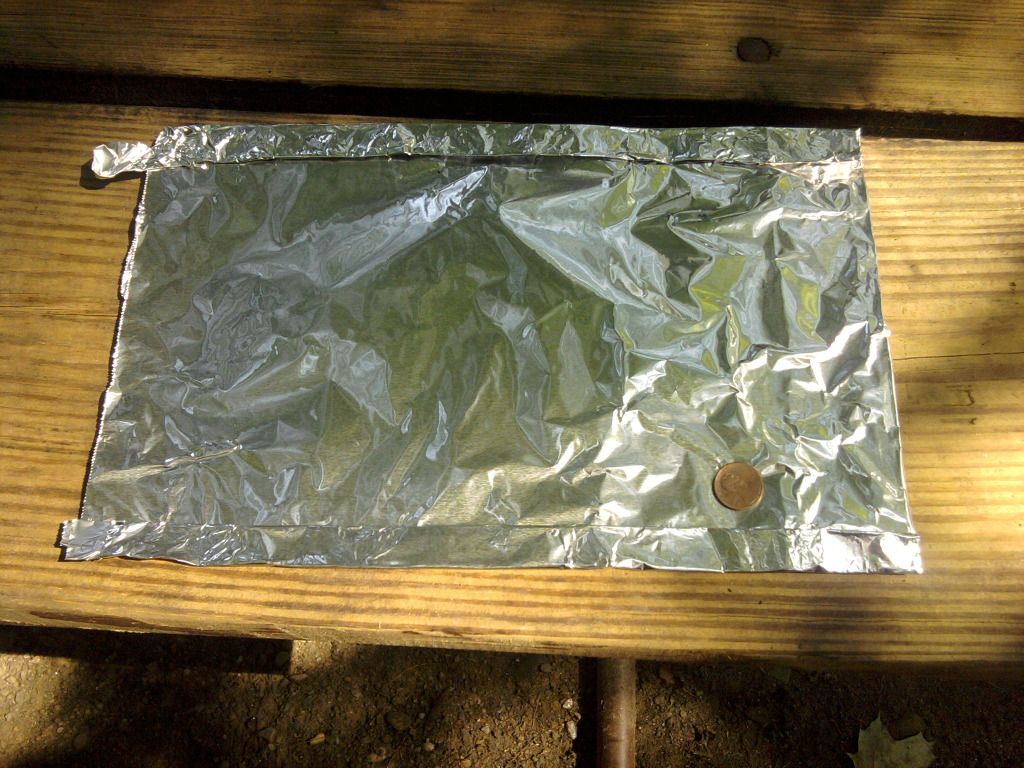
Make three narrow folds on each side to seal the packet into a bag.
I've placed a penny here so you can see the width of the folds.
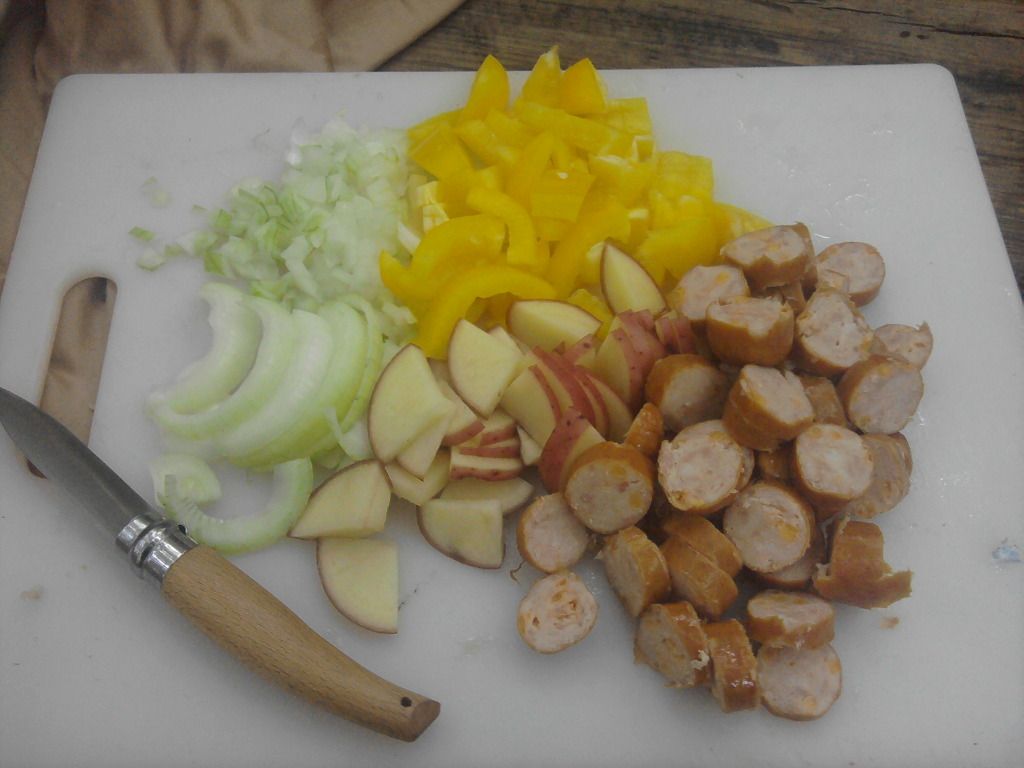
Prepare your ingredients by cutting them into quarter sized pieces about 1/4" thick.  
For this dinner I used 2 cheddar sausages, a small onion, half a pepper, and a small potato.
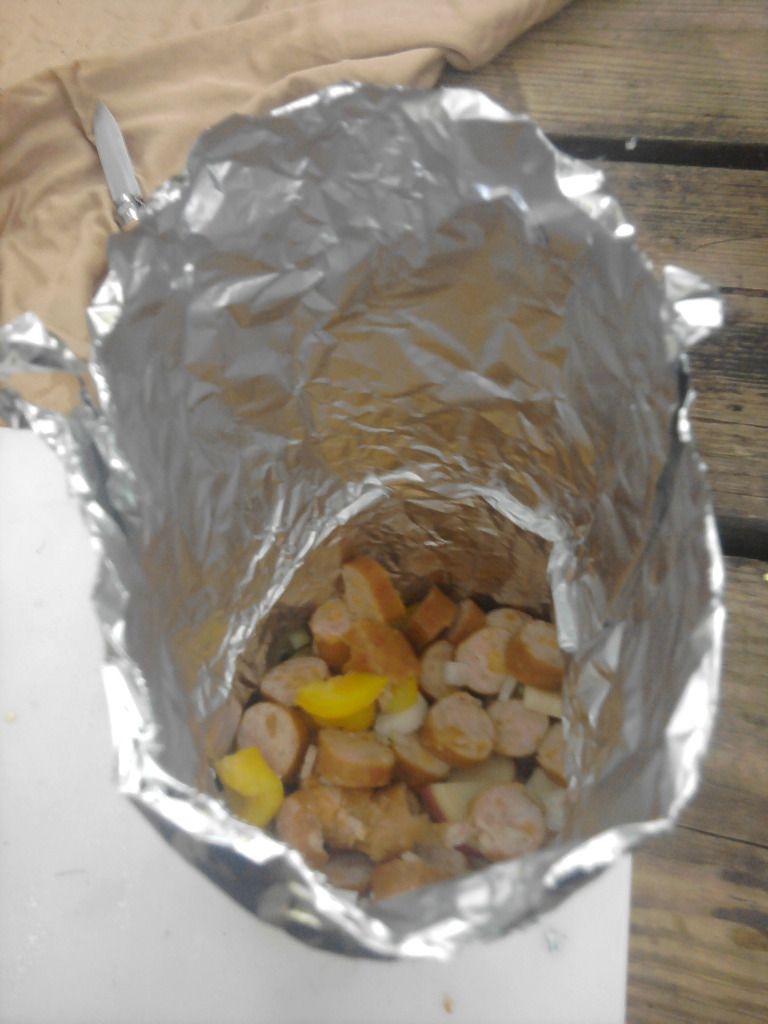
Open up the bag you made earlier, and add 1 Tbsp of oil or liquid.
Place ingredients into the bag.  Items that take the longest to cook (potatoes, here) should be placed into the bottom of the bag.  
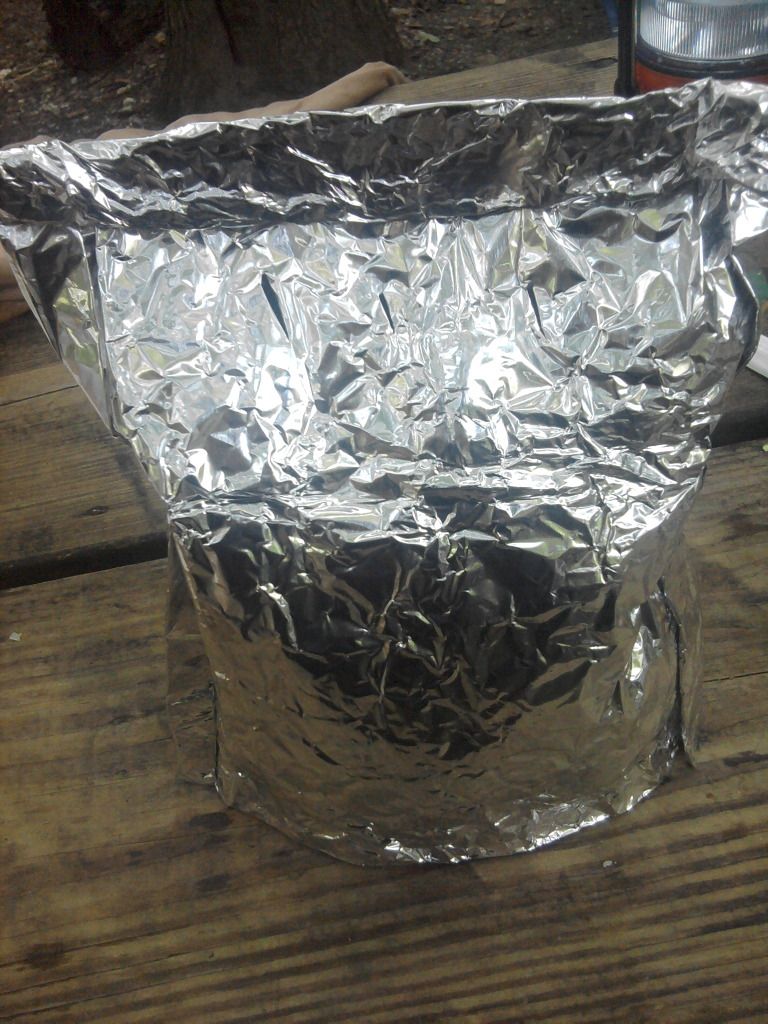
Roll the top down three times, pressing well to seal.  Make a few vents near the top of the bag or you will get steam burns when you open the packet.
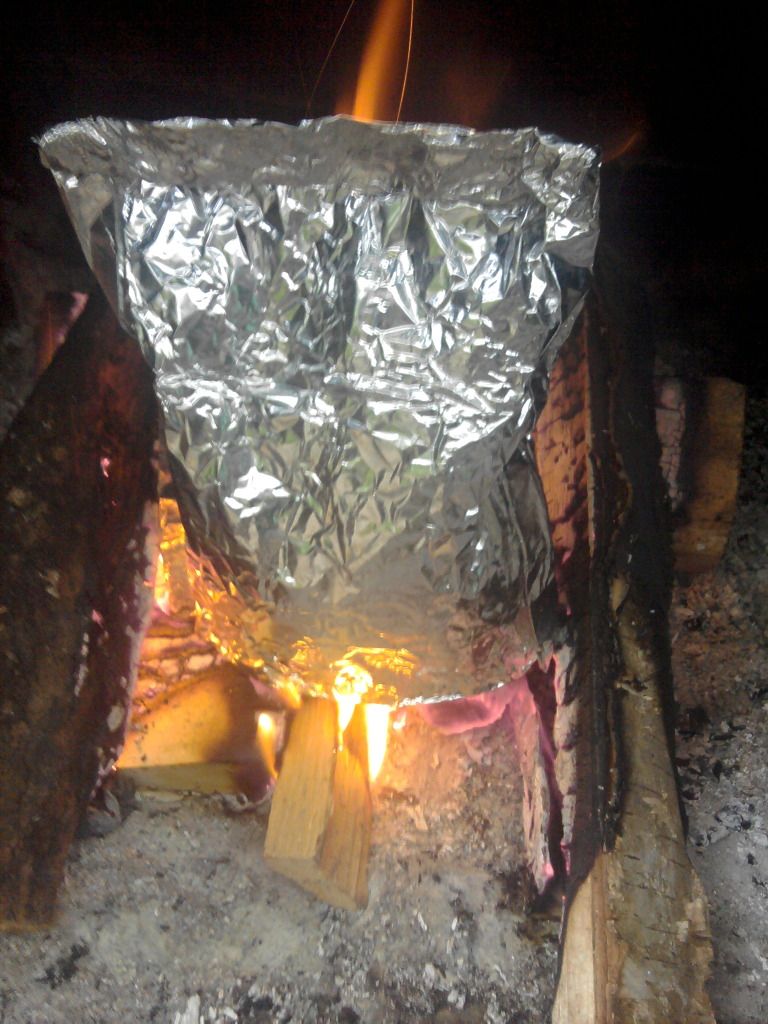
Place the bag directly on the coals.
Don't place a schooner into a fire that still has live flames, but a couple may flare up once the schooner is placed.  This technique works equally well on hot charcoal briquets.
A single-serving schooner takes 30 minutes, give or take.  I gave this packet a full 40 minutes to ensure the peppers and onions were well cooked.
I also rotated it a couple of times during cooking with tongs.
***No direct heat is needed for the sides of the packet.  It only requires heat on the bottom.***
Remove the schooner from the heat, and carefully unroll the top. Contents are extremely hot!!!
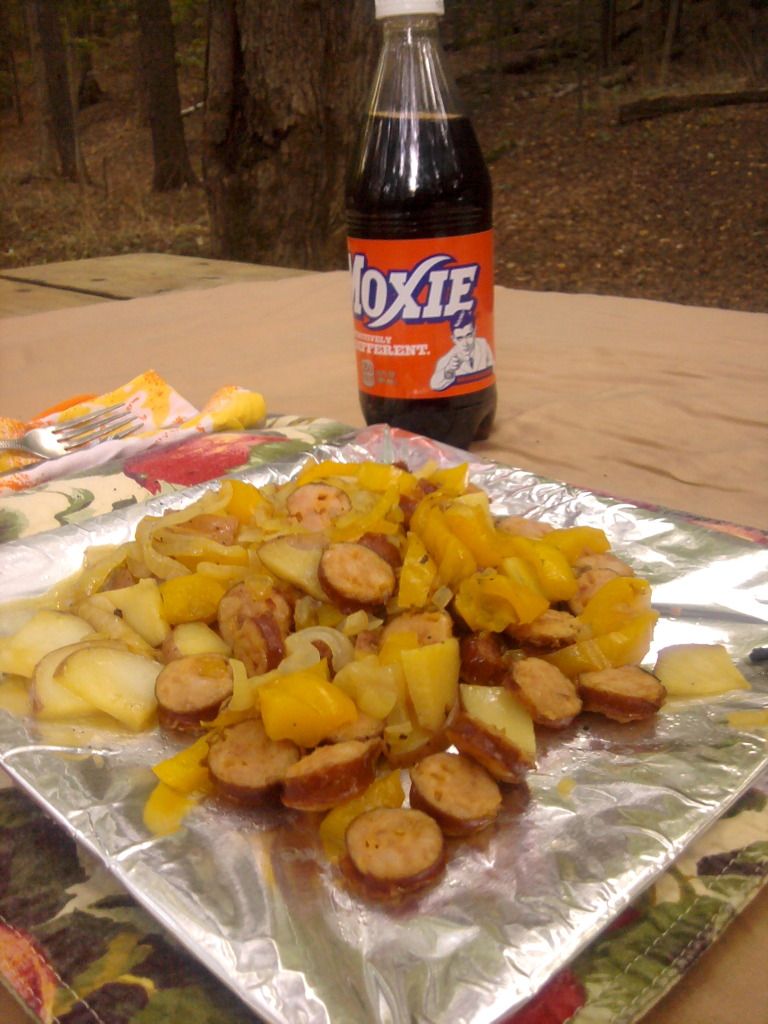
Boys enjoy eating straight out of the schooner, but I prefer a plate. . .and Moxie.
You can bake almost anything you can think of in a schooner -- even biscuits.  The key is the Tablespoon of liquid or oil in the bottom of the bag, and even heat on the bottom for the entire cooking time.  Because the heat never touches the food, it steam-bakes.  You won't end up with a layer of burnt potatoes at the bottom like you do with traditional foiled dinners.  I've also been impressed that the vertical cooking style allows up to 10 packets at a time in the same fire or grill.
The best part???  NO CLEAN-UP!!!!! Yay!!!!!

 Love you, Hot Stuff!
 Momma

P.S.  If you need a large bed of coals to cook a posse of packets, add 6-8 pieces of wood all at once to an established fire.  Don't add any more fuel, simply allow all of the wood to burn down into a ginormous bed of coals.  If you're only cooking for one or two, make a standard camp fire, leaving an opening in the front for a schooner.

Linked up at Homestead Barn Hop

24 August 2012

Slow Cooker Not-So-Sloppy Joes

Dear Lissy,
The books are out, study areas set up, shiny new school supplies stocked, and assignment books filled and ready for next week.  The first six weeks of school are a bit of a challenge.  I invest a great deal of time up front to insure that each of you will be able to work independently for the remaining 30 weeks.  The garden is still putting out like a champ, so my afternoons are full, too.  Slow cooker meals are a blessing, and I bank all the meals I can into the freezer to give me longer afternoons.
See the original (sweeter!) recipe here.  
Slow Cooker Not-So-Sloppy Joes originally came from allrecipes.com.  The recipe makes a kid-friendly sloppy joe that is thick and sweet.  I modified it for the slow cooker, and increased the recipe to use an entire bag of ground beef from the butcher.  It makes three meals worth of sloppy joe mix for our family of five (Dad & the boys each have two, you and I eat one).  If the mix is too bland for your taste, replace the catsup with your favorite BBQ Sauce.

Slow Cooker Not-So-Sloppy Joes
24 servings
5 lbs lean ground beef, pork, venison, turkey, or combo of all
1 large onion, finely chopped
2 cups finely chopped
1 family sized can condensed tomato soup
1 regular size can condensed tomato soup
3/4 cup catsup
3 Tbsp. rice vinegar
1/2 cup brown sugar
2 Tbsp. Worcestershire sauce
1-1/2 tsp. salt (I use celery salt)
1 tsp. garlic powder

24 buns TOTAL.  I usually buy these fresh for each meal, 8 at a time.

If desired, brown ground beef, drain, and rinse.  Very lean beef, venison, or ground turkey will not need to be pre-cooked.  Mix all ingredients in crockpot and cook on low for 6 hours, stirring occasionally so you don't end up with meatloaf.  Mixture will be thick.  Divide mixture and refrigerate portion to be frozen.  **Here's a little trick I learned in the foodservice industry.   Refill 20 oz soda bottles with water and freeze.  When you need to chill a soup or stew quickly, place the frozen bottle into the center of the container of hot soup/stew and the mixture will chill almost twice as fast.  Wash the outside of the bottle and return it to the freezer for future use** Hold portion to be served warm while buns are toasted.  Divide mixture evenly between buns and serve.  Once mixture in fridge is cold, divide into Ziploc bags, press out the air, and freeze flat.

I try to enjoy the busy seasons of life, knowing I'll miss them when they're gone.  Freezer and slow cooker meals help me keep my head and heart stable while my world is on fast forward.

 Much Love,
 Mum