Dear Lissy,
I've got a pan of Pioneer Woman apple dumplings in the oven, and just a few minutes to drop you a letter on how I choose and stash fabric.
I follow these guidelines to make quilts that visually appeal to me.
 |
| The Wolfrom color tool is invaluable for a scrap quilter. |
- I always use the Ives color wheel, not the traditional red-yellow-blue wheel. If you're using a computer program, make sure the color picks are based on the Ives wheel. Whole books have been written about the merits of the Ives wheel, and you can find an enormous amount online.
- I use the same background fabric for every block. Prints must be very subtle tone-on-tone. When background fabrics are varied, the quilt is too busy for my taste.
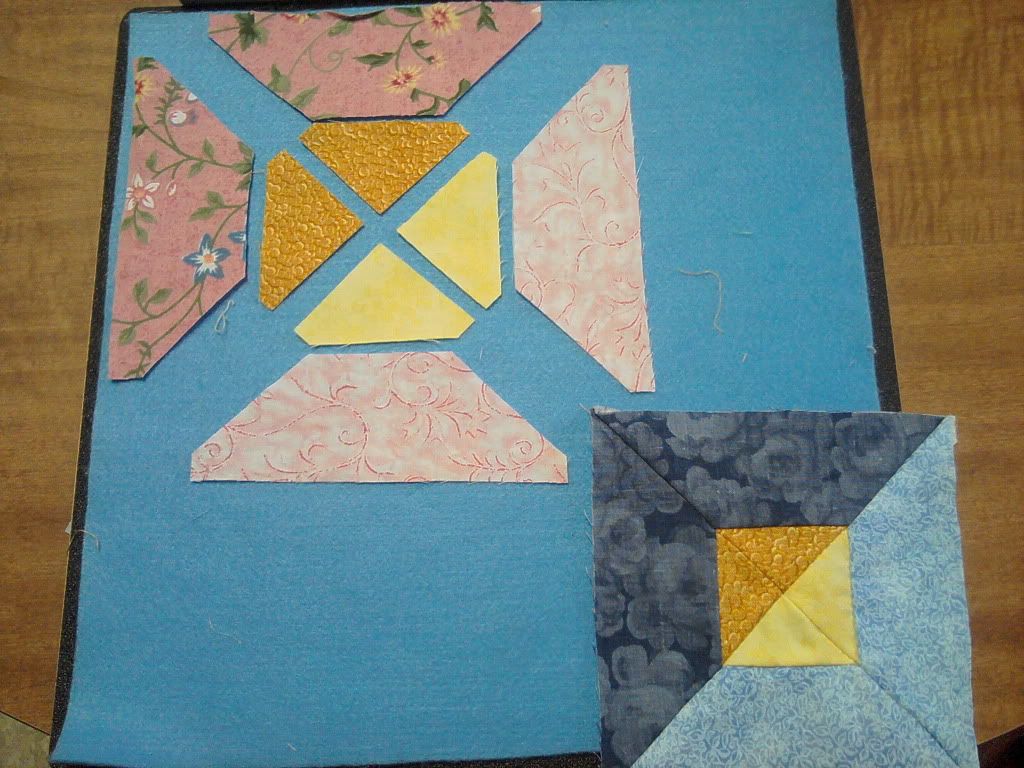
- I only stash fabrics that are tone-on-tone or analagous colors.
- I rarely sash between blocks, preferring the secondary patterns that emerge when blocks are placed side-by-side.
- I prefer a pieced border, especially if it completes a pattern.
- I prefer plain, unbleached muslin to back a quilt.
- I always bind with a geometric print (stripes, checks, plaid).
My quilt guidelines free me to buy fabric wisely. I shop clearance sales in local quilt shops and online, allowing me the best bang for the buck.

- For "stashing" I buy fabrics that match tones on the Ives color tool.
- I buy no more than a fat quarter of fabric unless I know it will be used for binding. I buy a yard of stripes, plaids, and checks for bindings.
- I don't stash background fabric.
- I buy unbleached muslin in large quantities with a half off coupon. My main requirement is that it have an even thread count around 70 threads per inch both warp and weft.
- I try to buy at least three values of the same color (light, medium, and dark) because I know I like to use them together for "glow" in my quilt.
- I only buy fabric with a dyed design. Painted designs are too difficult to hand quilt.
- Once I know I'm going to be making a quilt with a particular colorway, I put out the word to quilting friends who happily hand over their scraps. I can utilize much smaller pieces because I don't have to rotary cut.
Our apple dumplings are done, and by some weird alchemy crescent rolls and Mountain Dew have become a delicious dessert that tastes homemade from scratch.
Sew in Love,
Momma